Product: Sleeklens Lightroom plugin “Through The Woods”
Before I start with this quick overview, a disclaimer, I do not purport to be an expert in any of the applications I mention, I am entirely self taught, and therefore they may be workflows which are more efficient than I use.
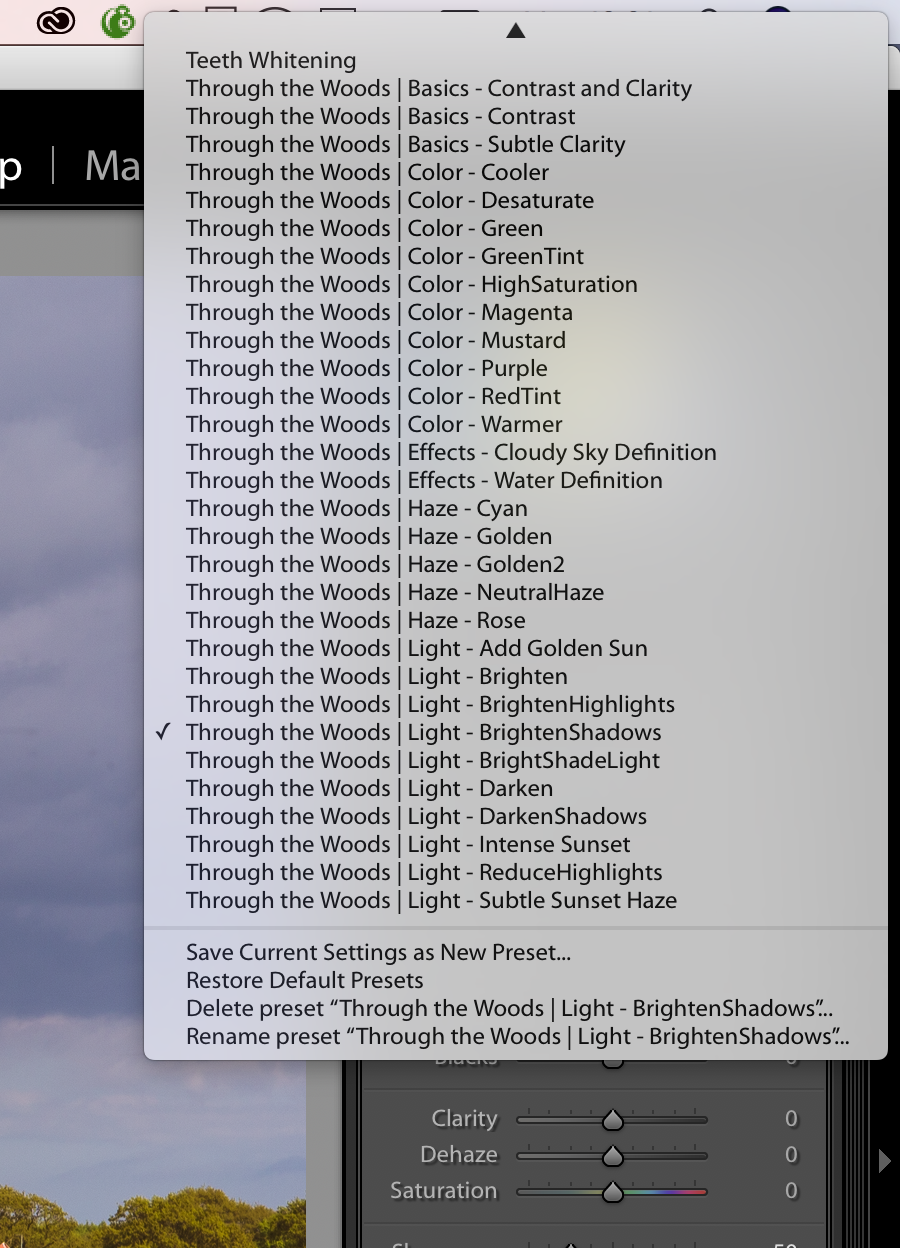
I was recently approached by the kind people at Sleeklens to have a look at their Through the Woods Lightroom presets & brushes for Adobe Lightroom (https://sleeklens.com/product-category/lightroom-presets).
The aim of these plugins is to provide the photographer with a simpler & faster workflow, meaning more time can be spent behind the camera rather than in front of the computer. They have also now launched their own editing service if you are not inclined to do the editing yourself and would like an expert to do it on your behalf – https://sleeklens.com/product/professional-photo-editing-service/
One of the many challenges with aviation photography, is that most events are awash with very talented photographers shooting from similar positions as vantage points are limited therefore results can be almost identical. Therefore how do you stand out from the crowd?
Yes, there are fundamentals which I aim to achieve, good exposure, shot in focus, subject is sharp, good prop blur, etc (surprisingly not all print editors or photographers seem not to worry about such things!!!). However, your image which might make you go “wow, I’m happy with that” may still be one of many similar shots when posted online. So how can you stand out? I will often try some experimentation with framing & exposure settings but will also consider my post-processing workflow & look to create shots that I know I can work with once back at base.
I am an advocate on the use of filters be that on the camera or in the darkroom (analogue or digital!), as the results can be stunning but equally I have seen some images which clearly haven’t worked out the original in camera shot needed no further work. I include some of my own work in that latter category, but for me, I prefer to learn through trial & error. However, speaking from experience, if this a route you decide to go down, be prepared for some feedback that may not always be positive.
I always shoot in RAW and use Adobe Lightroom CC as my main editing application, and dropping into other applications as needed. Therefore I was keen to have a look at anything that could save me some time by keeping me in one application.
The plugin arrived as a zip file containing two folders and supporting documentation. One folder for brushes and one for the presets. The supporting documentation in pdf format was clear & precise with installation instructions, and the whole install process took only a couple of minutes.
My standard workflow in Lightroom is to adjust the exposure, and then make some amendments primarily to shadows, whites, blacks, clarity, vibrance, saturation and sharpness. I created my own workflow as a baseline which is applied when I import my shots and then I edit from there.
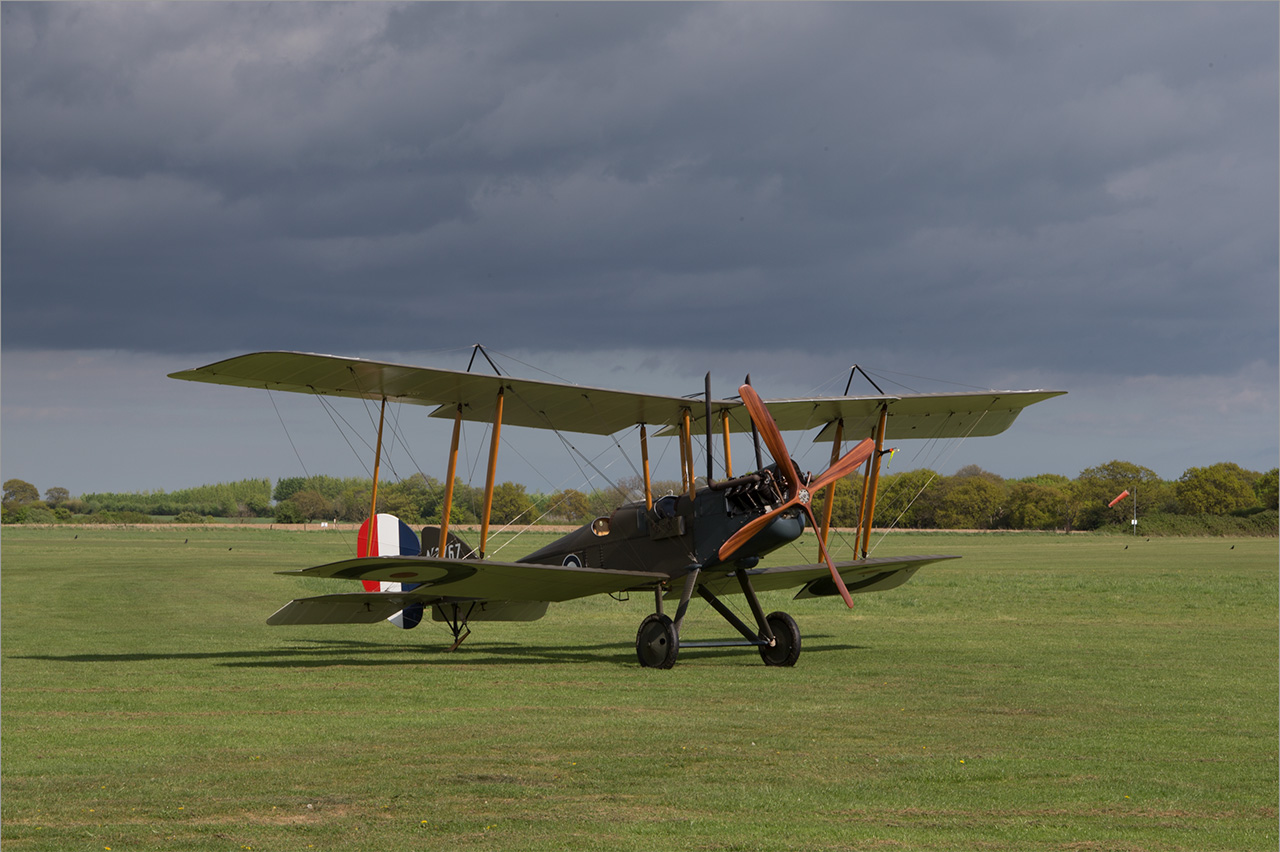
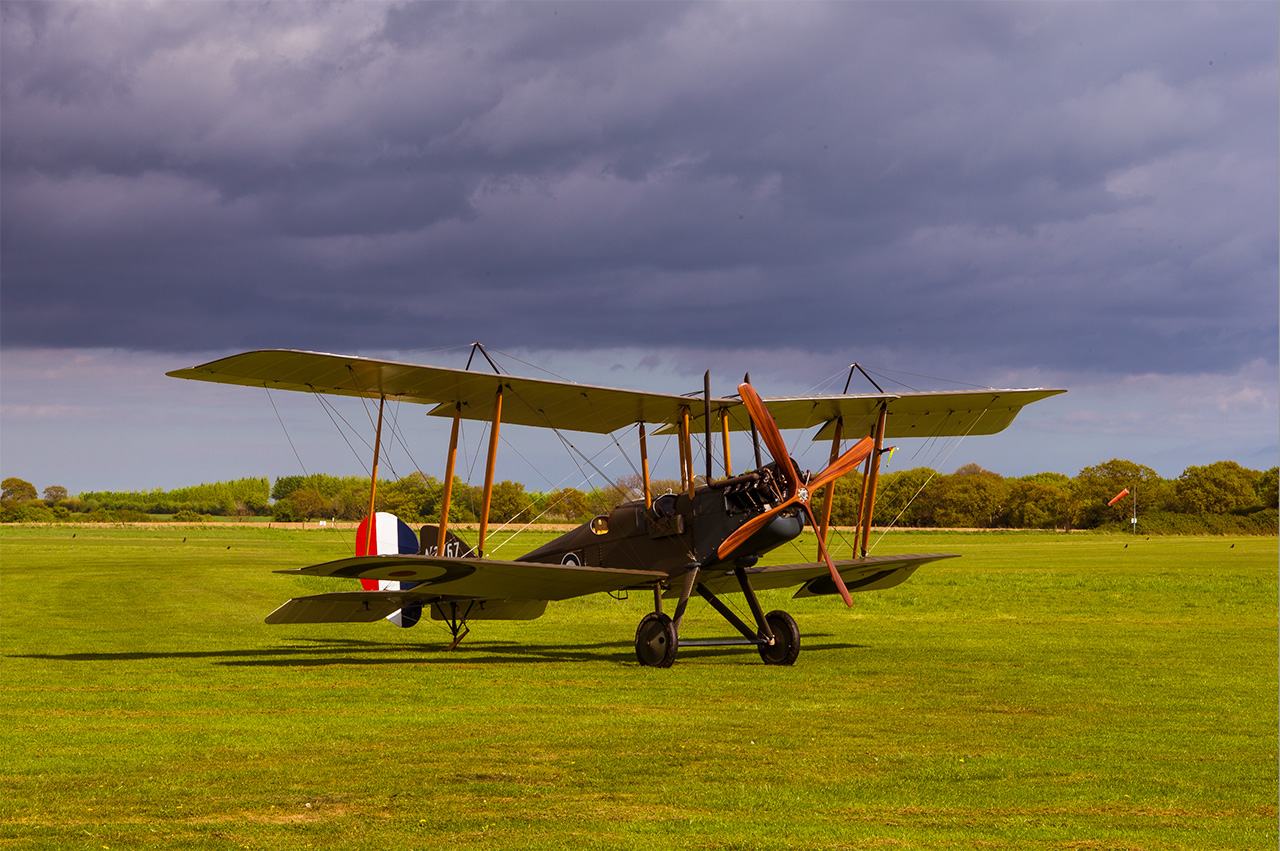
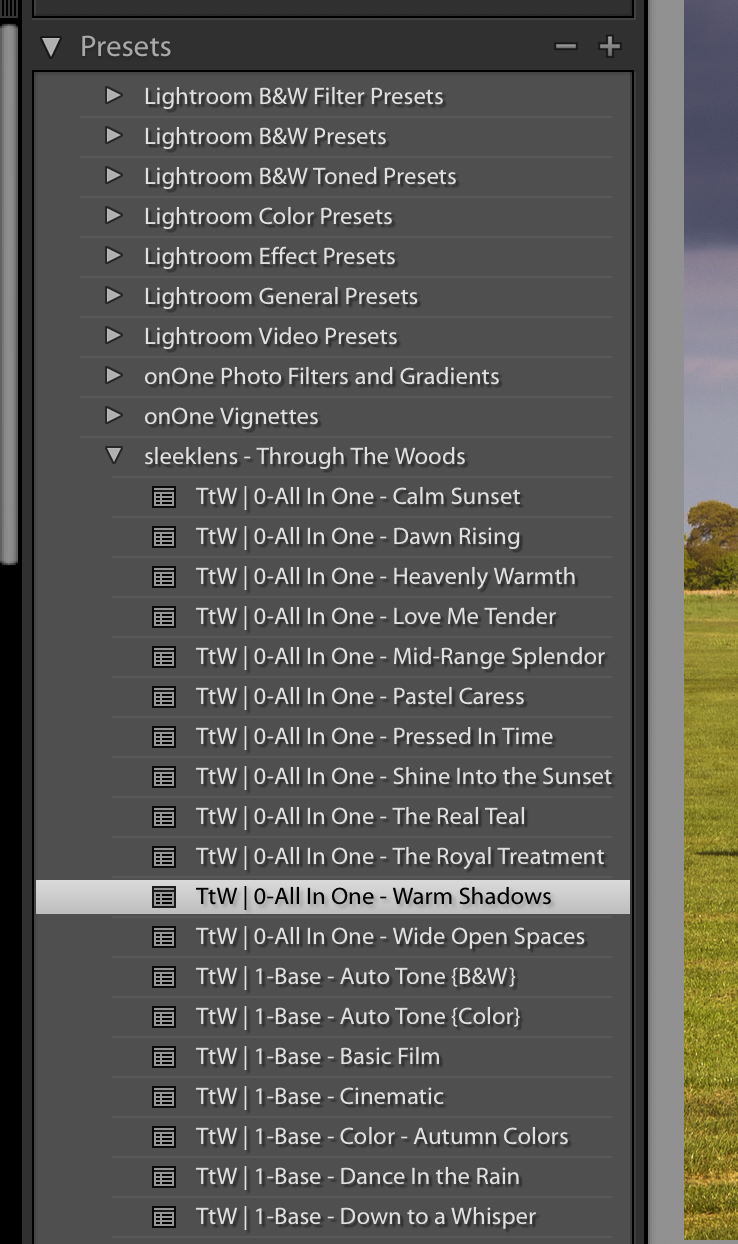
As an illustration of the simplicity of the Sleeklens product, rather than making all the amendments I would usually make, below is a screenshot of the original RAW file with no amendments and then one click on the Sleeklens “Ttw | 0-All In One – Warm Shadows” preset.


In the last couple of weeks, I have only scratched the surface of the power of these presets. Will I use them on every shot I take, no, but then I do not use my current solutions with every shot. What I can say, is that the presets have remained installed, and are now considered as part of my workflow. Has it speeded up my workflow, no but that’s because I actually enjoy being in the digital darkroom, and using new tools to explore my creativity, sometimes successfully, sometimes not.
Further details of the Sleeklens Lightroom presets can be found on their website: https://sleeklens.com/product/landscape-lightroom-presets/ or on Pinterest: https://uk.pinterest.com/sleeklens/lightroom-presets/